
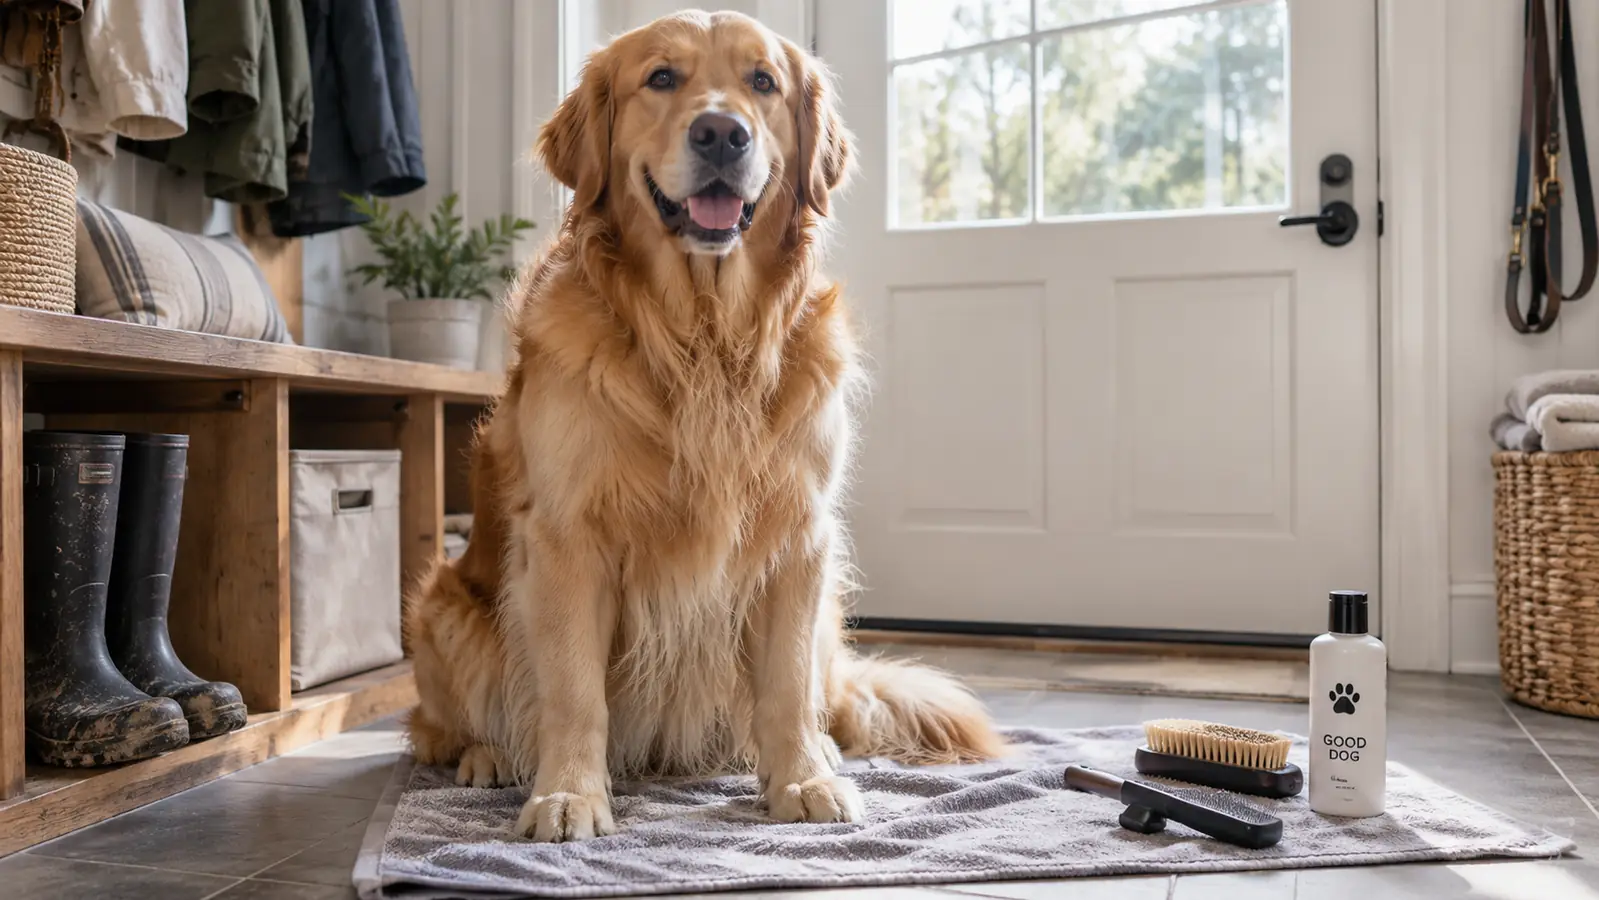
When Otis, my 7-year-old 68-pound Labrador mix, blew his undercoat last March, I thought the vacuum had quit. I filled the canister twice before nine in the morning, and hair still worked into the rug upstairs and clung to the baseboards in the hall. I tried a slicker brush, a rubber curry mitt, and a grooming glove that mostly collected dust from the floor instead of Otis. The topcoat came off easily, but the dense undercoat stayed anchored against his skin no matter how hard I pulled. Otis kept chewing at his thighs and leaving a fresh dusting of fur on every chair cushion in the house.
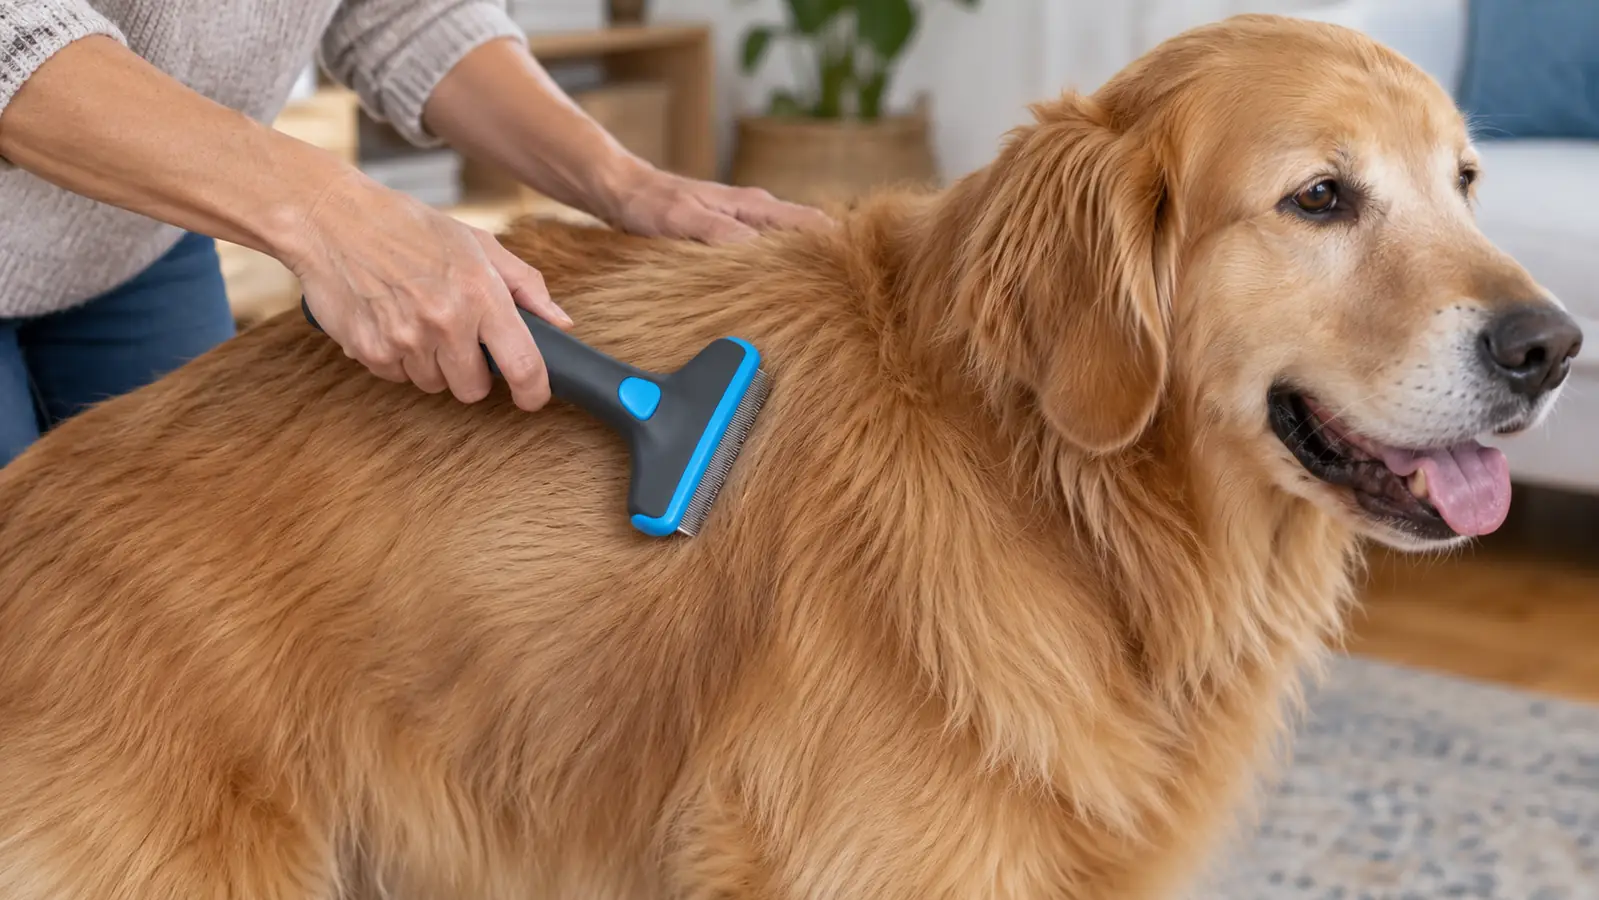
My neighbor who grooms her own golden retriever pointed me to the Thunderpaws 2-in-1 Deshedding Brush and Dematting Rake. I read the reviews, waited for it to arrive, and used it twice a week for four months straight. The brand on the handle matters less than the routine, but the routine has worked. That brush removes dead undercoat before it lands on my furniture, and by June my dark pants could go a full week without a lint roller. Here is the exact process we use.
The Brush That Made Otis Manageable at Shedding Time
This is the Thunderpaws deshedding brush and dematting rake I keep in the mudroom. It removes the undercoat that ordinary slicker brushes miss. Check today's price and customer reviews on Amazon before you order.
Amazon Check Today's Price on Amazon →Step 1: Set Up on a Hard Floor and Start Dry
Set up on a hard floor near natural light. I brush Otis in the mudroom by the back door, where the morning light shows how much undercoat is actually coming out. A dark hallway hides what you are doing, and you will stop early because the brush looks clean when it is not. I put down an old flat sheet before we start. Otis shakes two or three times during every session, and the sheet holds most of that hair so I do not end up sweeping it from the far corners of the room.
Brush only when the coat is completely dry. Water and conditioner make undercoat cling together, turning a smooth pass into a tugging contest. If Otis comes in from rain or has had a bath, I let him dry before the brush comes out, usually a few hours, sometimes overnight. A damp dog will pull at the teeth, yelp, and decide the brush is his mortal enemy before you have finished one shoulder.
A coat that is dry and tangle free lets the brush reach the undercoat without scraping the skin. I run my palm over his back first. If I feel mats, I work them loose with my fingers before I bring the rake anywhere near them. A knot that stays in place just gets pulled tighter, and the dog remembers that pain the next time he sees the brush.
Step 2: Work in Small Sections, Not Whole Sides
Do not run straight down the topline the way the product videos show. I brush Otis one palm-sized patch at a time, starting at his shoulders and working toward his tail. I lift the topcoat with one hand so the brush reaches the undercoat near the skin, then make short passes instead of one long scrape. Each patch takes about ten strokes before the teeth stop pulling out new hair.
The rake side of the Thunderpaws has two jobs, and I use it only for mats and tangles. Otis mats behind his ears and on the backs of his rear legs, so the rake works there. On his back and smooth sides I stay with the deshedding side. The rake is more aggressive than a typical coat needs, and pressing it into an ordinary patch will grab guard hairs and make the shedding appear worse.
I keep a mental map of his whole body so I do not skip the pants area on his hind legs. That section mats quickly, and it contributes more to the fur tumbleweeds in the kitchen than people expect. It is not the first place new owners think to brush, but it needs to be part of every session.
Step 3: Use Short Pulls and Let the Teeth Do the Work
I never press hard. The work comes from the teeth moving through the undercoat, not from downward force against the skin. I hold the brush at a slight angle and pull it through the hair about four or five inches at a time. If it catches or skips, I lighten the pressure and shorten the stroke rather than pushing harder. That keeps the session pleasant enough that Otis will stand for a full pass over his back and sides.
I brush with the direction of the coat, from the head toward the tail, because that is how the undercoat releases. Against the grain feels more productive at first and pulls more surface fur, but it also pulls healthy guard hairs and leaves the dog feeling raw. Dogs like Otis tolerate the brush far better when the motion follows the way the coat naturally lies.
Otis is happiest when I brush his chest and the front of his shoulders. That area has shorter hair and softer skin, so I use slower and lighter strokes there. On his belly, where the hair grows at odd angles, I follow the direction of each patch as it lies, even when that means changing the angle of the brush every few inches.
Step 4: Clear the Brush Every Few Strokes
A deshedding brush is only as useful as your habit of clearing it. After two or three passes, I stop and strip the collected fur out of the teeth with the thumb of my other hand, dropping it onto the sheet next to us. If I let the brush fill up, it glides over the next patch without biting into the undercoat, and I have to repeat the same piece over and over.
I also watch for the moment when the teeth start to skid. That tells me the brush is loaded or the section underneath is exhausted. I clear the teeth, move to a fresh patch, and check again. Once a patch has stopped giving up fur, I do not torture it with a tenth pass. The damage from over-brushing only shows up days later as redness and sore skin.
Keep a small bowl of water nearby for the worst shedding days. If the fur mats on the brush because of static, a quick dip untangles the teeth more gently than yanking the clump free. This matters most in winter, when indoor heat makes the whole house dry and every brushstroke snaps with static.
Step 5: Know When To Stop and Finish With a Damp Cloth
I know the session is close to done when I can pass the brush across a section and it comes back nearly empty after three or four strokes. That is my signal to move on. One full side of Otis takes about seven minutes, and the other side takes about the same, so the whole job runs about fifteen minutes on a normal week and closer to twenty when he is blowing his coat.
After the brush work, I run a slightly damp microfiber cloth over his back and sides. This picks up the short broken hairs that sit on the very top of the coat, the ones that stick to fabric and float into the air. Otis thinks the cloth is a game now, and it adds about ninety seconds to the ritual while giving me a chance to check his skin for hot spots or flaking.
When I need a touch-up between full brushings, I use the same brush on his rear legs and tail. Ten minutes twice a week keeps the hair balls in the corner smaller and means the vacuum filter does not clog as fast. I also clean the brush itself under running water once a month, dry it with a towel, and put it back in the mudroom drawer.
Why Twice a Week Beats Once a Day
At first I brushed Otis every evening, and his skin turned pink in places because I was chasing a clean brush that never existed. The turnaround came when I switched to a steady twice-weekly schedule. A dog like Otis sheds in cycles, and a session every three or four days stays ahead of the loose hair without stripping the healthy coat.
During the heavy spring and fall sheds, I bump it up to three times a week. In the middle of summer and deep winter, twice a week keeps the furniture clear enough. The calendar reminder on my phone means I stop convincing myself that I will do it tomorrow, because tomorrow turns into next week very fast when the coat is not visibly falling out.
When To Set the Brush Down
If the dog has red, raised skin, scabs, or a patch of hair loss that is not part of normal shedding, brush elsewhere and call the vet. A deshedding brush will irritate sunburned or allergic skin quickly. I learned this when Otis developed a small hot spot near his tail and I kept brushing around it, making the area angrier until the vet gave me a cream.
There are also times when brushing is wrong for the coat itself. If the fur is still wet, if a mat is tight against the skin, or if the dog has been in burrs and tangles for a week, handle those problems first. Trying to force a deshedding brush through a tangle turns a grooming session into a painful tug of war, and the dog remembers that feeling longer than the clean coat lasts.
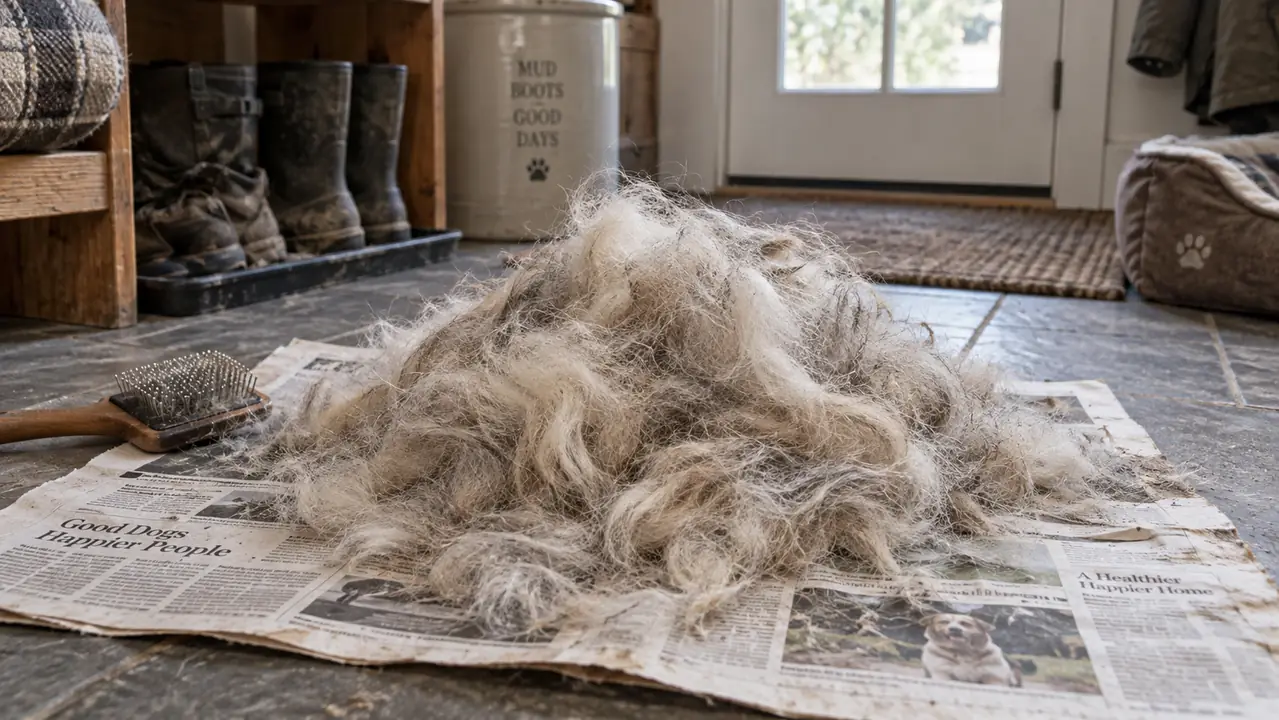
I pulled more dead undercoat out of Otis in one fifteen-minute session than I had collected all week with the vacuum.
What Else Helps
The brush is the center of our routine, but it works better alongside a few habits. Otis eats a food that does not dry out his skin, and I added a small spoonful of plain canned pumpkin after his veterinarian said it helps his coat and digestion. More importantly, I vacuum the house twice a week and wash the throw pillows, because no brush removes every airborne hair.
A bath at the start of shedding season also helps. I give Otis a warm bath with dog shampoo, dry him completely, and then wait about forty-eight hours before the first heavy brush-out. That timing pulls out the dead undercoat the bath loosened, and the results last longer than brushing alone. Nothing I do eliminates all of Otis shedding, but these steps together cut the fur on the floor by at least three-quarters.
The other practical habit is protective surfaces. A washable throw over the sofa, a rubber brush in the car, and a flat sheet on the bed stop the fur from spreading into places I do not want to groom. None of that is as satisfying as a full sheet of undercoat pulled out in one session, but all of it makes the house feel normal during the worst weeks.
Keep the Fur on the Sheet, Not on the Sofa
If you brush a shedding dog in your house at least twice a week, this is the tool that makes the job simple. The Thunderpaws deshedding brush has held up to four months of regular use in my mudroom, including a drop on tile. Check today's price and customer reviews on Amazon, then start your own routine tonight.
Amazon Check Today's Price and Reviews on Amazon →